Surfaces Finished Without Shortcuts or Visible Flaws
Interior and exterior painting in Old Fort for homes where worn finishes, surface imperfections, or outdated color need correction
Paint work that looks good on application day and stays that way for years depends almost entirely on what happens before the first coat goes on. Surface preparation—cleaning, sanding, and filling imperfections—determines how evenly paint adheres and how long it holds without peeling, cracking, or showing the damage underneath. Nolan Construction LLC approaches interior and exterior painting with that preparation step as the primary focus, priming where adhesion requires it, and applying finish coats with technique that produces even coverage rather than visible brush marks, lap lines, or thin spots.
For exterior work on homes in the Black Mountain and Marion areas, older siding and trim often have layers of previous paint that require cleaning or light sanding to get a stable base. Painting directly over chalking, flaking, or contaminated surfaces produces a finish that starts failing at the edges within a season or two. Interior work involves the same logic—walls that have been patched, textured, or finished at different times need consistent surface preparation so the paint reads as one continuous surface rather than highlighting every repair and joint.
To discuss the surface condition of your home and what preparation the project will require, contact Nolan Construction LLC directly at (828) 803-3459.
The Difference Between a Careful Finish and a Quick One
Quality paint application relies on consistent wet-edge technique—keeping a wet edge working across the surface so each stroke blends into the previous one before it sets. Losing that edge produces lap marks that become visible once the paint dries and the sheen catches light at an angle. On ceilings and trim, where cut-in lines meet a different surface or color, a steady hand and the right brush size determine whether the line reads as clean or ragged. These are execution details that do not show up in a quick walk-through but become apparent once furniture is moved back in and light hits the walls at different angles through the day.
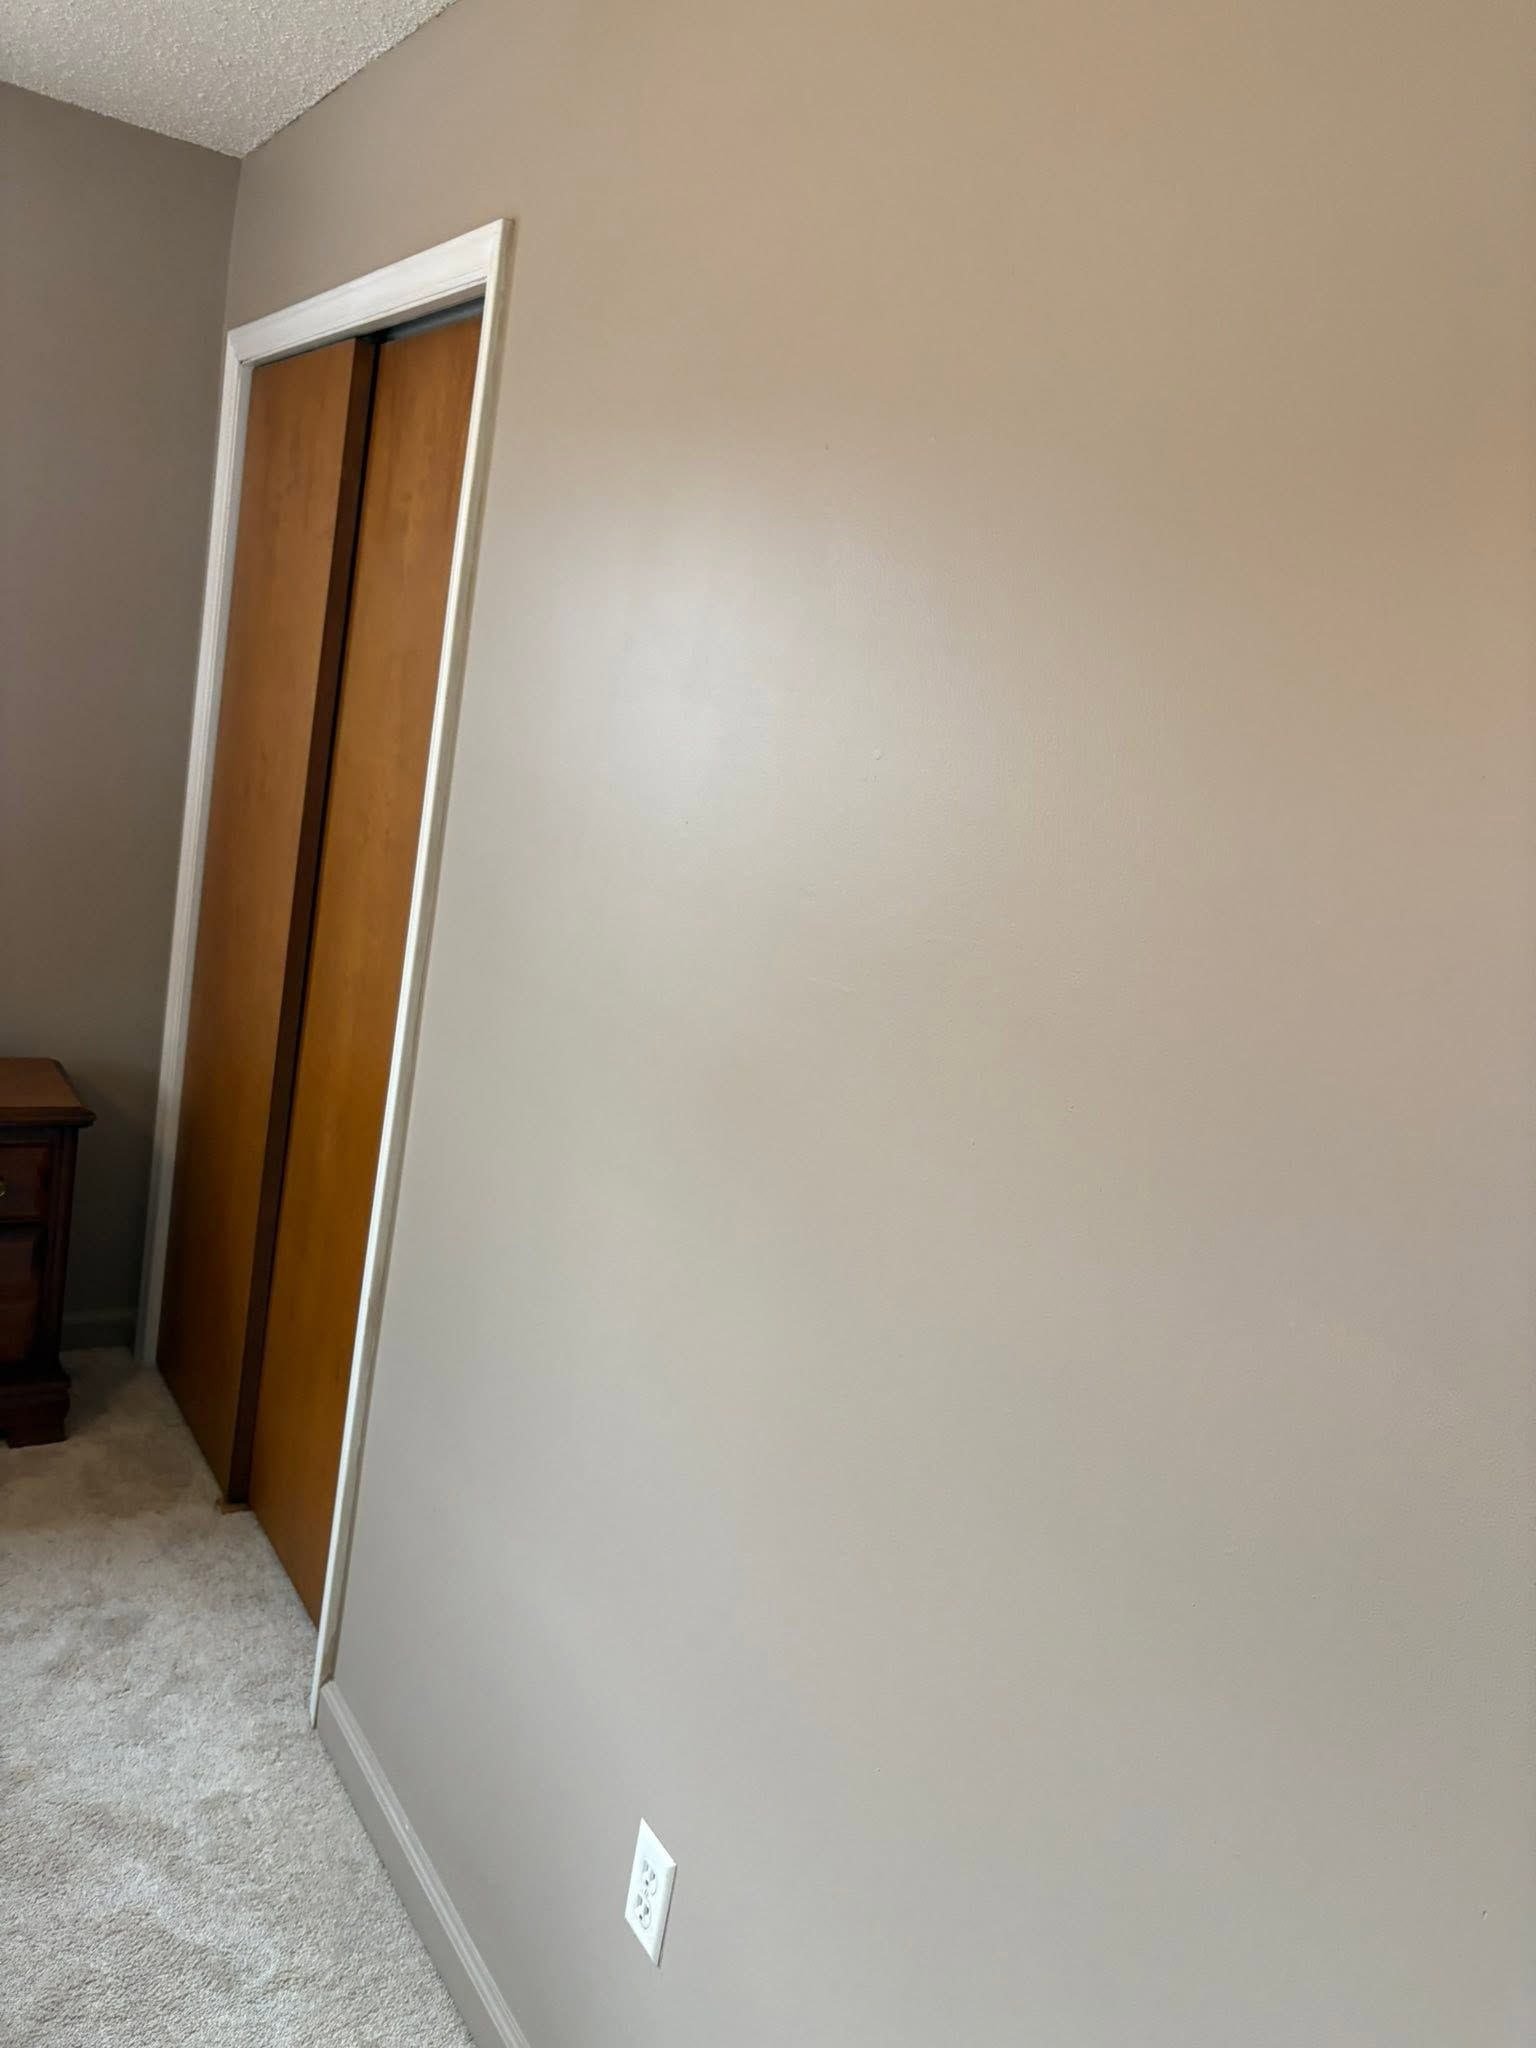
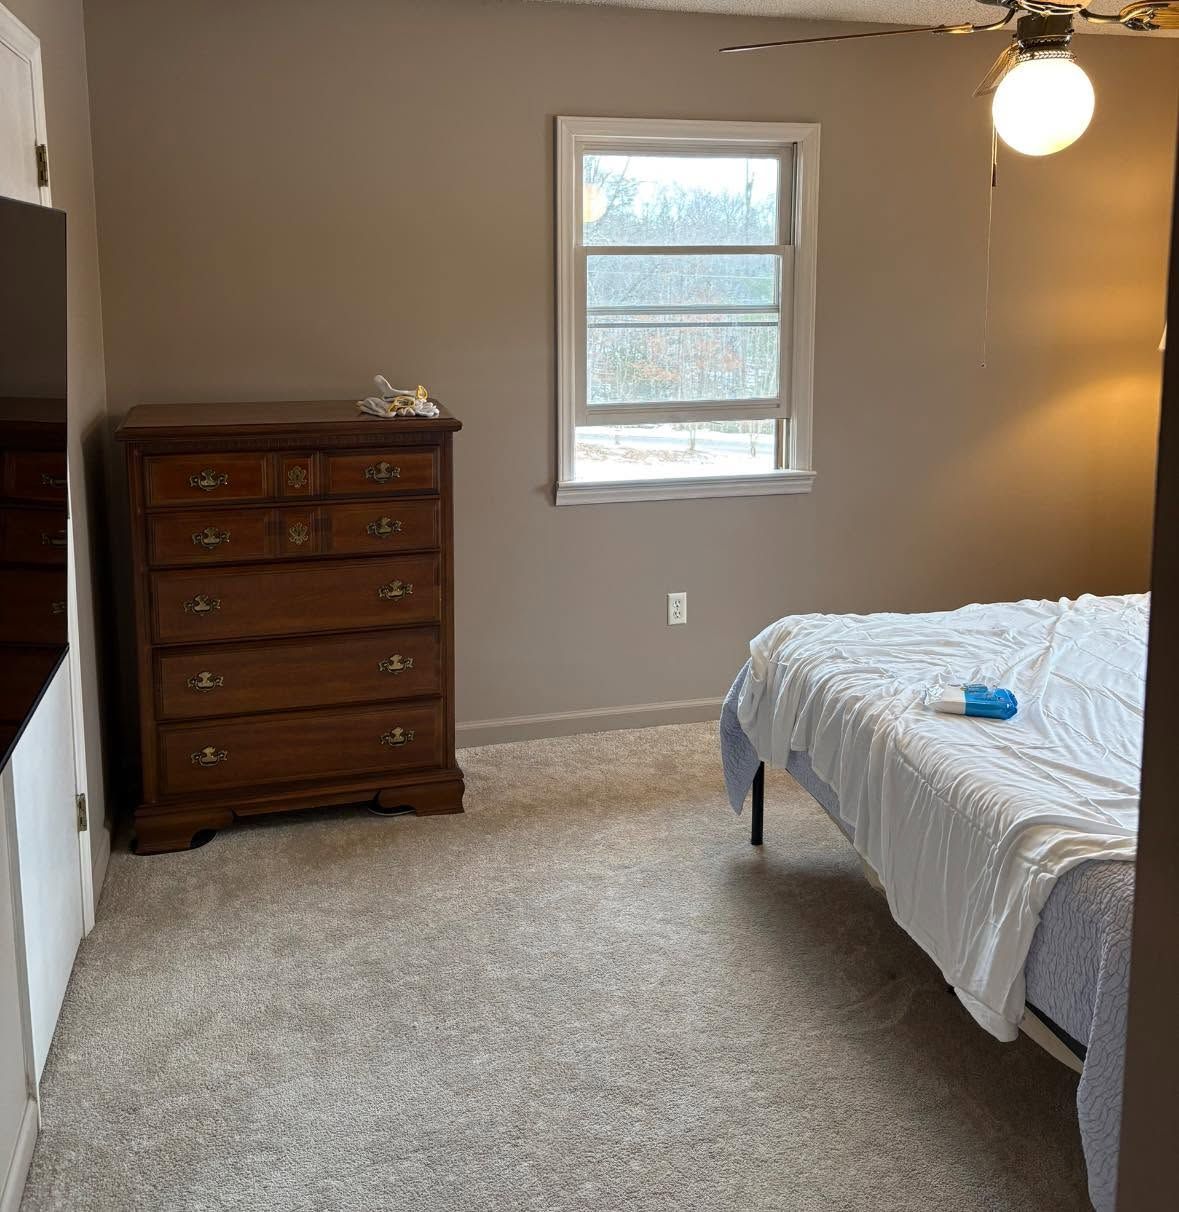
Once Nolan Construction completes a painting project, what you notice is a uniform finish across every surface—no visible seams at patched areas, no missed corners, no drips along baseboards or window casings. Exterior finishes applied over properly prepared substrates resist the adhesion failures that cause paint to peel at the edges of trim boards and around window frames, which is where most exterior paint problems start.
Primer selection is a decision point that affects both adhesion and finish quality. Bare wood, previously unpainted surfaces, and stain-prone materials all require specific primer types before topcoat. Skipping primer on bare wood causes the finish coat to absorb unevenly, producing a flat appearance in some areas and a shiny one in others on the same surface. Where walls have been repaired with joint compound, spot-priming the patched areas before the full coat prevents flashing—the dull, slightly different sheen that makes repairs visible through the topcoat.
Questions Before Starting Your Project
Interior and exterior painting raises practical questions about preparation requirements, product selection, and what distinguishes a finish that holds from one that needs attention again in a year or two. The following addresses the process and the decisions that shape the outcome.
Why does surface preparation take as much time as the painting itself on older homes?
Older surfaces accumulate contamination, previous coats in varying condition, and areas where the substrate has degraded. Each of those conditions requires a different preparation step—cleaning, sanding, or filling—before paint can be applied to a stable base. Rushing preparation and adding more topcoat does not fix an unstable substrate; it adds weight to something that is already failing.
How is primer selected for different surfaces?
Bare wood gets an oil-based or shellac primer that seals the grain and prevents tannin bleed-through on resinous species like pine. Previously painted surfaces in good condition take a latex primer for adhesion. Stain-blocking primer is used on water-stained ceilings or smoke-affected walls to prevent bleed-through that shows through even multiple topcoats.
What causes exterior paint to peel at trim boards and window frames?
Peeling at trim typically means moisture is entering the wood from behind—through unsealed end grain, failed caulk at joints, or gaps between the trim board and the siding. Painting over peeling trim without addressing the moisture source produces the same failure again within one or two seasons.
How does sheen level affect interior wall finishes in high-use spaces?
Higher sheen levels—satin and semi-gloss—are more washable and appropriate for kitchens, bathrooms, and trim. Flat finishes hide surface imperfections but do not clean as easily and are better suited to low-traffic areas like bedrooms and formal spaces. The choice affects both how the surface reads visually and how it performs over time.
What is the correct sequence for interior painting when walls and trim are both being done?
Ceiling is painted first, then walls, then trim. Painting trim last allows clean cut-in lines against the finished wall color without the need to re-cut after trim paint overlaps. This sequence minimizes masking and touch-up work at each transition.
Nolan Construction LLC completes interior and exterior painting on residential properties where surface preparation and finish quality are the standard rather than the exception. Nolan Construction also handles painting projects in Morganton, Marion, Black Mountain, Lake Lure, and Blowing Rock. Call (828) 803-3459 to talk through your project and what the surface condition of your home will require before work begins.